Unscrew Every Screw Tools Tier List
Rank the progression from bare hands to endgame power tools — spend Coins where clear time actually drops.
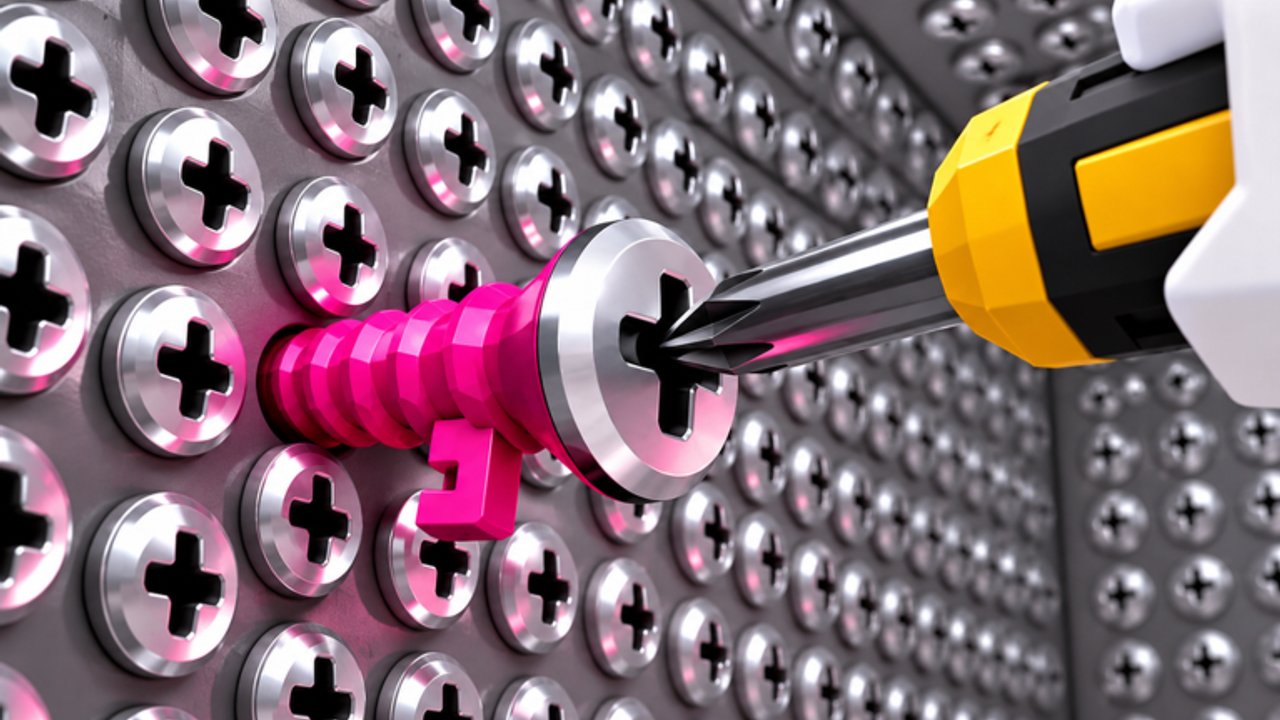
Every run of Unscrew Every Screw is paced by your tool. You unscrew fasteners, collect them, sell for Coins, buy a better driver, and push toward removing every screw so you can escape and beat your best time. This hub ranks that ladder in S / A / B / C bands for early, mid, and late play so you stop dumping Coins into lateral upgrades.
Exact shop names can shift after Omochi Guild patches (watch titles like [UPD🥕🔩] on Updates). The shape of the ladder stays stable in this genre: Hand → basic drivers → powered tools → endgame clear monsters. Pair this list with Tools & Upgrades for buy order detail and Speedrun Tips when you start optimizing routes.
How this tier list is ranked
Criteria, in order:
- Clear speed — how fast you strip dense screw clusters.
- Coin efficiency — time-to-next-upgrade versus raw price.
- Escape relevance — whether the tool helps finish the room, not only early AFK comfort.
- Skill ceiling — tools that reward good positioning beat pure AFK sticks for best-time chasers.
S = buy ASAP when affordable. A = strong on-path upgrades. B = fine fillers if you are flush. C = skip or buy only for collection / comfort.
New players should still read Getting Started before min-maxing — the loop itself matters more than one skipped B-tier driver.
Early game (Hand → basic drivers)
| Tier | Tool band | Why |
|---|---|---|
| S | First real screwdriver / basic driver after Hand | Biggest jump off bare-hand click fatigue; unlocks a real farm pace. |
| A | Improved manual drivers (better grip / speed variants) | Smooth coin/hour before power tools; usually worth one step. |
| B | Side-grade bits with tiny speed bumps | Buy if the price is trivial; otherwise save for the first powered tool. |
| C | Cosmetic-only starters or novelty “joke” tools | Fun, not progression. Escape times barely move. |
Early priority: get off Hand quickly. Selling your first screw piles should fund a basic driver before you obsess over perfect routes. In shared 16-player servers, a faster early tool also means you finish your wall and stop blocking teammates — see the Players Hub.
Mid game (power tools enter)
| Tier | Tool band | Why |
|---|---|---|
| S | First drill / powered driver | Multiplies unscrew rate; usually the “game feels good” breakpoint. |
| A | Higher-torque drills and auto-assist drivers | Keep climbing while coin income spikes from denser rooms. |
| B | Mid shop fillers with small AoE or comfort perks | Useful if they reduce walking; skip if they delay the next S tool. |
| C | Expensive prestige skins that reuse mid stats | Wait until you can already clear comfortably. |
Mid game is where Coin discipline matters. Selling often beats hoarding a huge inventory that caps. Reinvest into the next S/A tool, then practice a full-room clear so you learn which walls waste time. The video embedded on this page (“Can I unscrew EVERY screw?”) shows the fantasy end state you are building toward.
Late game (endgame clear tools)
| Tier | Tool band | Why |
|---|---|---|
| S | Top shop power tools / endgame drivers | Required energy for full-room clears and competitive best times. |
| A | Near-end tools that already finish rooms | Great for learning routes before the final purchase. |
| B | Situational specialists (tiny niches) | Only if a patch creates a unique screw type they excel at. |
| C | Outclassed legacy tools kept for nostalgia | Park them; do not rebuy after a wipe-style shop reset. |
Late game is less “is this tool good?” and more “does my path waste motion?” Combine an S-tier tool with Speedrun Tips: plan a wall order, minimize empty walks, sell on a schedule that never leaves you broke mid-clear, and track personal bests after each Updates balance change.
Suggested buy path (compressed)
- Escape Hand with the first basic driver (S early).
- Take one clean A-tier manual upgrade if the powered tool is still far.
- Rush the first drill / powered driver (S mid).
- Skip most B fillers; bank Coins for the next major power spike.
- Finish with endgame S tools, then optimize route instead of shopping sideways.
- Recheck this list after major patches — tool stats and prices move.
Co-op vs solo ranking notes
In a full 16-player lobby, raw tool tier still matters, but contention appears: two players on the same panel slow both of you. Higher-tier tools help you claim a section and finish it. Solo, tier list purity wins — you feel every percentage of unscrew speed. Either way, etiquette beats griefing for long-term fun; the Players Hub covers that.
Related pages
- Tools & Upgrades — deeper shop and upgrade writing.
- Speedrun Tips — route and timer habits.
- Guides Hub — full tutorial index.
- Codes — free Coins when Omochi Guild actually drops them.
- Scripts — why we do not push unverified auto-unscrew cheats.
Use this tier list as a spending compass, not a rigid meta bible. If a patch retunes a mid tool into an S break point, move Coins there and update your personal notes. The win condition never changes: remove every screw, escape the room, beat your best time.
Frequently Asked Questions
Quick answers for Unscrew Every Screw players.
What is the best early tool in Unscrew Every Screw?
Anything that replaces Hand quickly ranks S early. Buy the first real screwdriver / basic driver as soon as Coins allow, then save toward the first powered tool.
Should I buy every shop upgrade in order?
No. Skip most B-tier fillers if they delay an S-tier drill or endgame driver. Coin efficiency beats completionism until you can clear the room.
Does the tier list change after updates?
Yes. Omochi Guild patches can retune prices and speeds. Recheck this hub and the Updates page when the experience title shows an active [UPD] cycle.
Where can I learn upgrade order in more detail?
Read Tools & Upgrades for shop-focused guidance and Speedrun Tips when you start chasing personal best escape times.
Do scripts replace a good tool tier?
Unverified scripts risk bans and are not recommended here. Legitimate tool progression plus clean routes is the safe path — see the Scripts Hub for warnings.